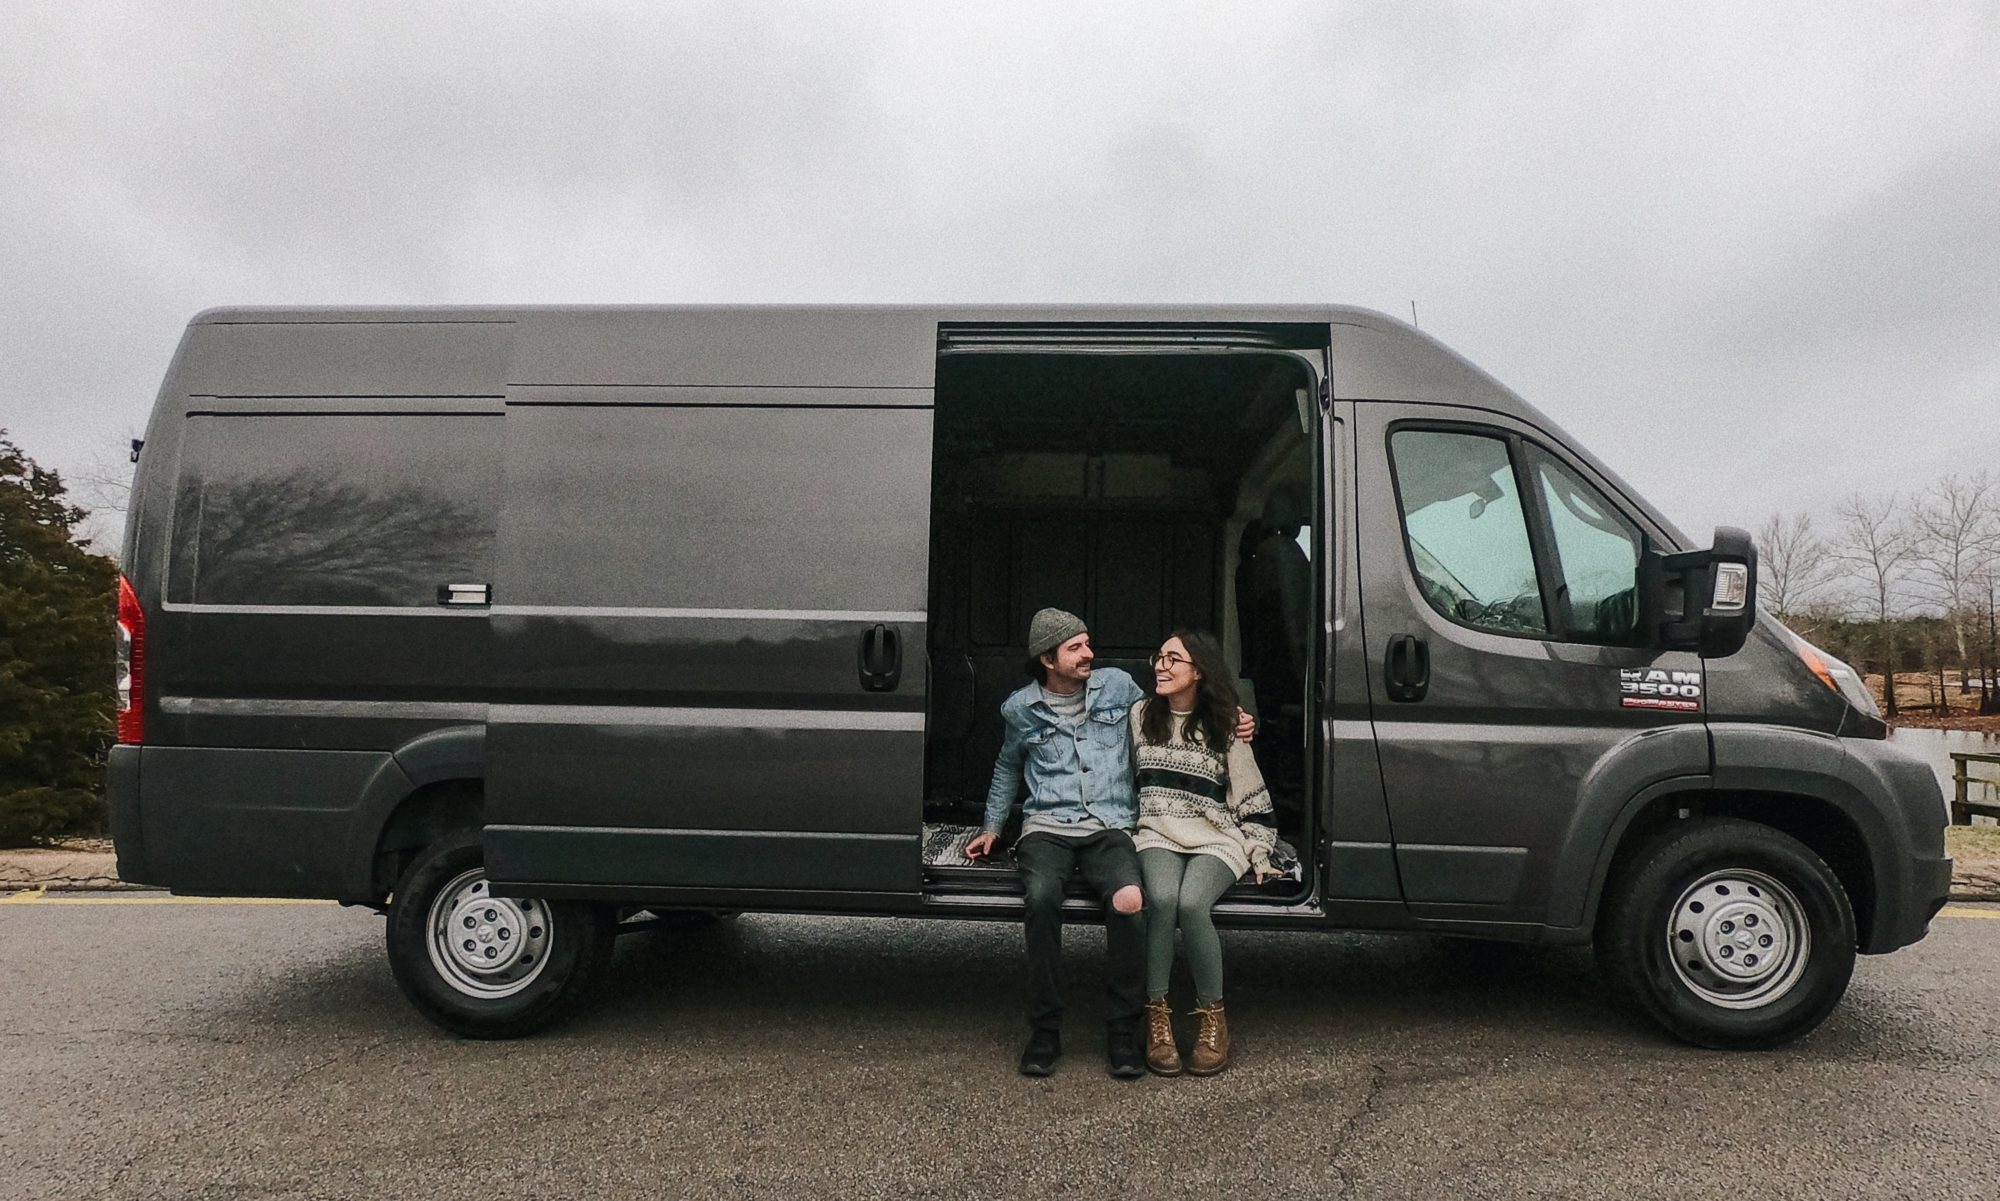
Yup that’s right. We made our own rack for our solar panels for under $300! And we didn’t put ANY holes in the roof!
What you’ll need:
[ 8 ] Vantech® H45-46S – Top and Bottom Adaptor Kit

[ 4 ] 2-Hole Flat Straight Strut Bracket

[ 2 ] 4-Hole Flat Straight Strut Bracket

[ 8 ] VPC 3/8 in. Galvanized Spring Nut

[ 16 ] 1/4 SAE Stainless Steel Flat Washer

[ 16 ] 3/8 in. Stainless Steel Flat Washer

[ 16 ] 3/8 in. Stainless Steel Split Lock Washer

[ 2 ] 10 ft. 14-Gauge Silver Electro-Galvanized Strut Channel

Rustoleum matte black finish for auto

Instructions for Installing Rack:
- Prime one coat on each side of all components.
- Apply two coats of paint on each side of all components.
- Insert bolts, provided with your van tech roof mounts, into your bottom brackets pointing upwards.
- Slide mount bottoms on to the first, second, third, and fourth knobs located on the roof of your promaster.
- Place mount tops on to the mount bottoms.
- Place strut channel onto your brackets (There will be 4″ of over hang on the front or back depending on which end you choose to flush your strut with).
- Place washers onto each bolt, then tighten nuts down with socket wrench.
Instructions for Installing Solar Panels onto Rack:
*Note: We use these Renogy Solar Panels

- Mark out, on your solar panels, where they are going to land on the strut channels.
- Drill each mark on you panels with a 1/8″ drill bit, then drill again with a 1/4″ drill bit, and finally drill once more with a 1/2″ drill bit.
- put locking washers then flat washers onto the carriage bolts.
- Fasten two of the 2 hole square washers to the back most holes of the rear solar panel using the 3/8″ carriage bolts and nuts. (Each square washer must be fastened to the bottoms of the panel)
- Fasten the last of the 2 hole square washers to the forward most holes of the front solar panel with 3/8″ carriage bolts and nuts.
- Carry your solar panels to the roof and plug in your positive and negative connections.
- Fasten the 4 hole square washers to the front most holes of the rear panel, and the back most holes of the front panel connecting them together.
- Line up the spring nuts on the inside of the strut channel with the center of each hole of you square washers.
- Place a locking washer then a flat washer onto each of the 3/8″ hex bolts.
- Fasten the panels down running the 3/8″ hex bolts through the square wasters into the spring nuts with a socket wrench.
- Give yourself a high five; you now have one of the main components of solar power!


Nice job you guys!! So handy 🙂
Thanks so much!! 😉