Solar Systems

Solar and electrical can be one of the most intimidating parts of a van build. The big question is “How much solar do I need?” The first step would be to use an energy calculator, we recommend the one from RV Solar Connections which can be found under ‘Resources’. Once you get an idea of how much you’ll need to power everything, you’ll want to start designing your system. There are tons of guides online but if you are feeling intimidated you may want to hire it out. A lot of our clients tell us how relieved they feel to have us design and install their systems. If there’s any part of the build I would suggest hiring out it is definitely electrical. Making sure your system is safe, with high-quality components and the correct wire sizes is crucial. We’ve learned from experience as well as seen other builds that have used more budget-friendly Amazon “knock-off” components which can lead to melting and fire hazards. So we will always suggest using Victron energy components, marine grade wire, and Blue Sea Systems fuses. 

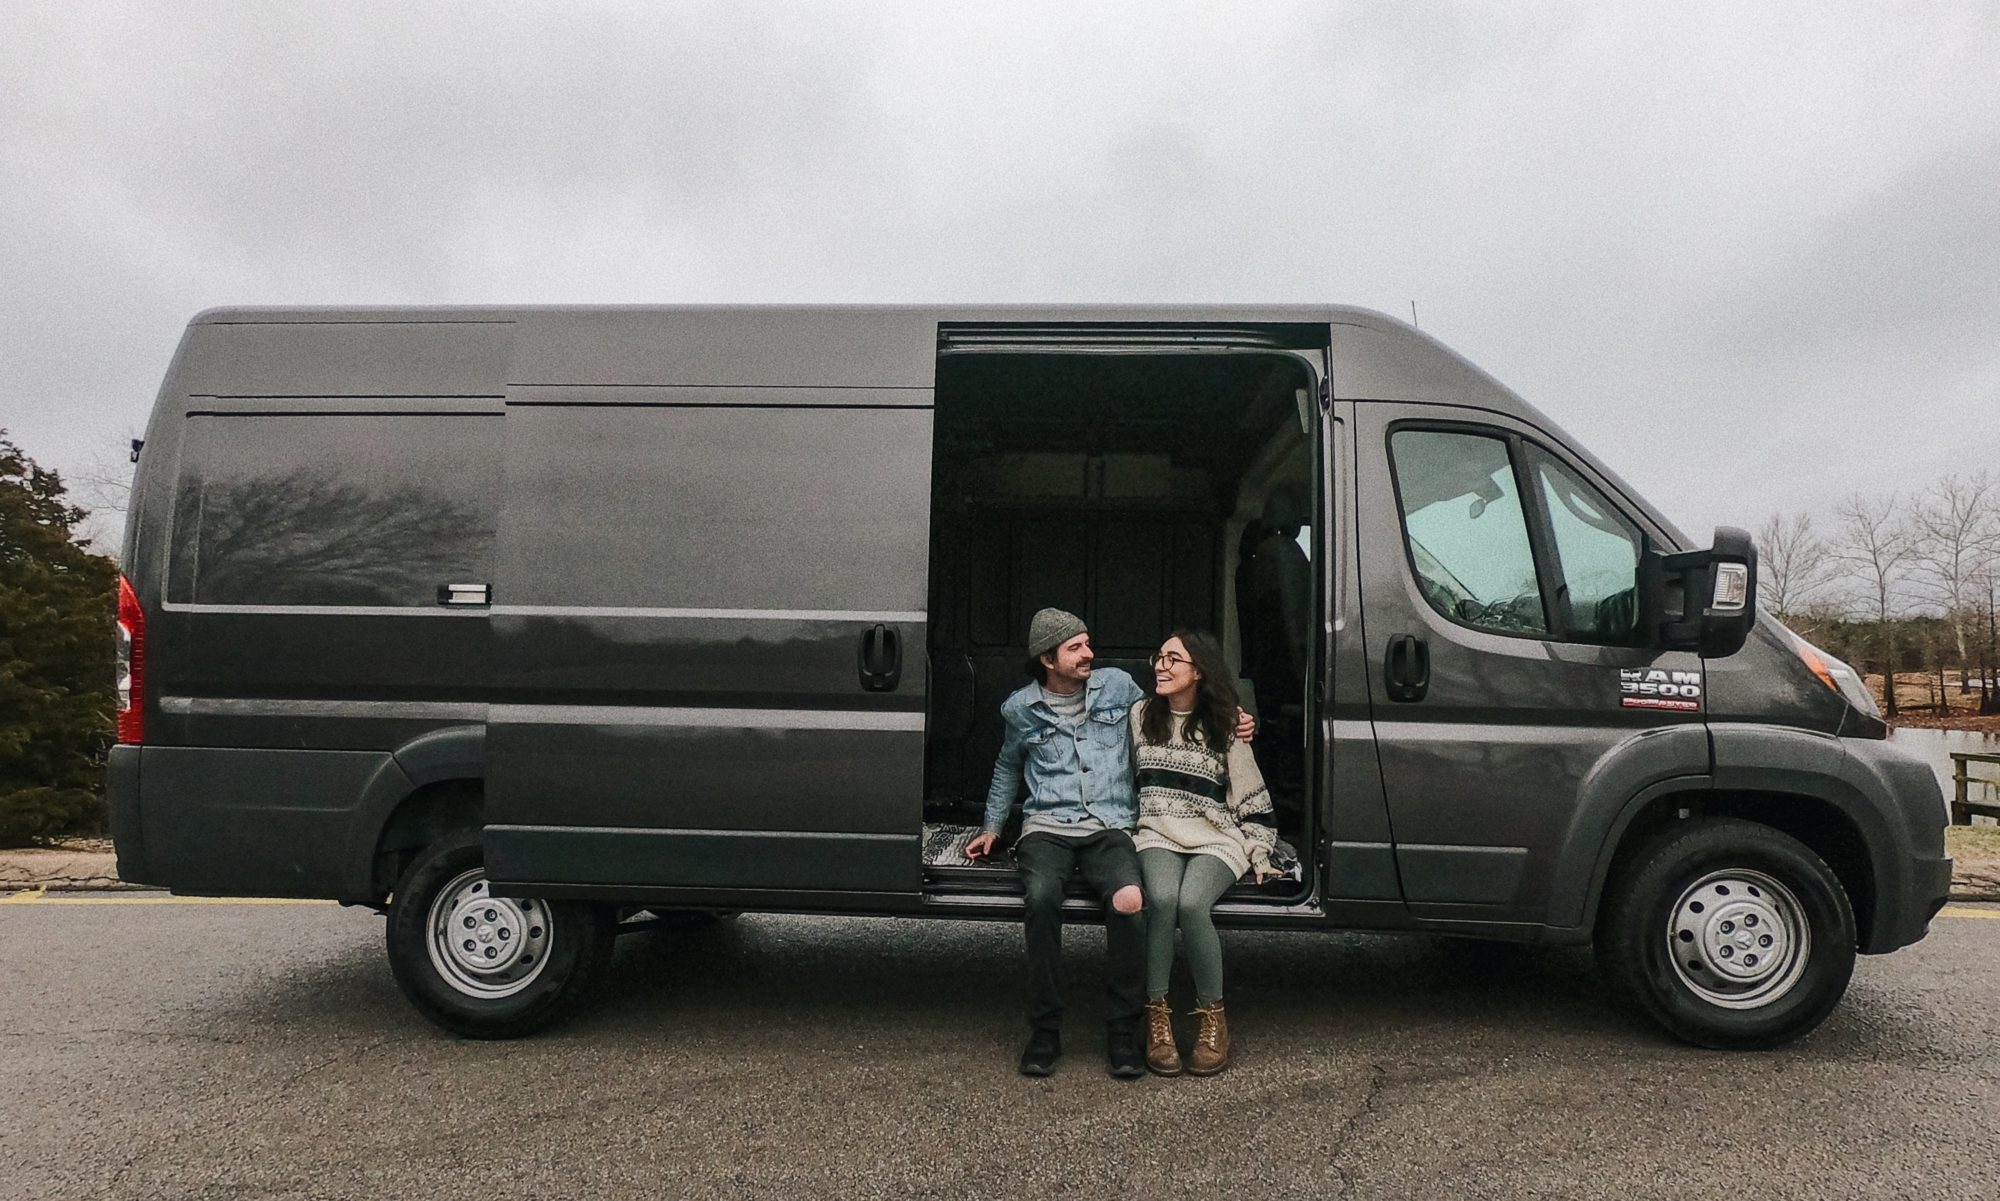
photos by @valerienoell

Another key part before purchasing your electrical system is making sure you are buying your components through an authorized distributor to ensure you will have tech support. A lot of times buying Victron components on Amazon leaves you with no support. That’s why we work with RV Solar Connections, certified Victron specialists & distributors for all of our builds and client builds to ensure you’ll have lifetime support! It’s great peace of mind knowing if something were to come up on the road you have a team of people who can tap into your system and help diagnose any issues/ change settings. We only recommend Victron to our clients for their high quality, reliable products as well as being user-friendly, with Bluetooth compatibility. In our opinion, it’s worth it to invest in a better system upfront rather than pay for it down the line and risk safety. 

Need help designing your solar system?

Need someone to check if your wire sizes and fuses are sized correctly?

Please reach out for consulting or if you’d like to hire us for design or installation at thehuntersvanlife@gmail.com.

If you are planning to order from RV Solar Connections please send us a message before placing your order so we can send you a little gift! 😉 

*As an affiliate for RV Solar Connections, we earn a commission off qualifying sales.
Bathroom

We live in our van full time so having a bathroom was pretty important to us. We have a full wet bath with a shower and composting toilet and it is definitely one of our favorite parts of our van build!

Nature’s Head Composting Toilet – One of our favorite things in the van! No nasty smells, saves water and no black water tank dumping!

Handheld Showerhead

Shower Faucet

Towel Hooks

Shower Storage Caddy

Nautilus Shower Door – We love this door because it is retractable and SELF CLEANING!

Insulation

Havelock Wool – Improves indoor air quality, manages moisture, absorbs sound.

Polyisocynurate Foam Board – PolyIso has the highest R-value per inch of any rigid board insulation. We installed this on the ceiling and window panels along the sides of the van.

Spray Foam – The rocker panels in the Promaster are known for water getting in. We really wanted to use wool throughout our whole build but after it rained we ended up taking out the wool from the rocker panels to check, and it was indeed wet. So we used spray foam instead to fill all the rocker panels and to act as a sealant.

Kilmat Sound Deadening – We put kilmat on the ceiling to help reduce rain noise. You will need a roller for this product, you can get the one we used here.

Bubble Reflectix – We used reflectix as an extra layer and vapor barrior on top of all the insulation. We also put this under our subfloor instead of foam to save the most headroom space. If we used foam board on the floor and ceiling, Ethan wouldn’t be able to stand up straight (he’s 5’8).

Reflectix Tape

Silicone – We wanted to keep water out as much as possible. We used silicone throughout the van whenever we saw a hole. If you have a Promaster be sure to check around the wheel wells and seal anywhere you can see daylight.

Spray Adhesive – We used this to stick the foam, wool and reflectix on the walls, ceiling and floor.

Rustoleum – When we were pulling off the wall panels that came in the van, it left behind some scratches. We painted any bare metal showing throughout the van so no rust occurs.

Windows

CRL 2014+ OEM Design ‘All-Glass’ Look Ram ProMaster Passenger Side Sliding Door T-Vent Window

CRL 2014+ OEM Design ‘All-Glass’ Look Ram ProMaster Van Fixed Window Right Rear Door

CRL 2014+ OEM Design ‘All-Glass’ Look Ram ProMaster Van Fixed Window Left Rear Door

Driver Side Universal Van Bunk Window 33-7/8″ x 10-7/8″

You’ll need the bottom two products for installing the back fixed windows. This is what CRL recommends.

CRL One Step Primer for CRL/Somaca Series Urethanes

CRL/Somaca Hi-Viscosity Auto Glass Urethane Adhesive

Tools Used:

DEWALT 12-Volt Max 1/4-Inch Impact Driver

Bosch Jig Saw

Filer

Tape

Rustoleum

Fan Installation

A vent fan is a necessity in a van especially for us since we have a shower as well as a stove/oven. This MaxxAir fan is awesome because it has different settings that can suck air out or in and comes with a little remote so you can set your temperature!

What you’ll need:

MaxxAir Fan Deluxe w/ Remote

Butyl Seal Tape

GE Silicone 2+ Window & Door Caulk, 10.1 Oz. Tube, Clear

Scotch Delicate Surface Painter’s Tape

2 Inch GRK Trim Head Screws

Tools Used:

DEWALT 12-Volt Max 1/4-Inch Impact Driver

DEWALT 12-Volt Max 3/8-Inch Drill Driver

Bosch Jig Saw

Swanson Framing Square

Swanson Speed Square

Pro Tip:

Make sure to vacuum EVERYWHERE as you go and right after the cut – this is VERY important as rust can develop from those tiny metal shards! Also tape up a trash bag where you are going to be cutting the hole, this will help reduce metal shards from getting everywhere inside your van.

DIY Promaster Roof Rack

Yup that’s right. We made our own rack for our solar panels for under $300! And we didn’t put ANY holes in the roof!

What you’ll need:

[ 8 ] Vantech® H45-46S – Top and Bottom Adaptor Kit

[ 4 ] 2-Hole Flat Straight Strut Bracket

[ 2 ] 4-Hole Flat Straight Strut Bracket

[ 8 ] VPC 3/8 in. Galvanized Spring Nut

[ 16 ] 1/4 SAE Stainless Steel Flat Washer

[ 16 ] 3/8 in. Stainless Steel Flat Washer

[ 16 ] 3/8 in. Stainless Steel Split Lock Washer

[ 2 ] 10 ft. 14-Gauge Silver Electro-Galvanized Strut Channel

Home Depot

Rustoleum matte black finish for auto 

Instructions for Installing Rack:

  1. Prime one coat on each side of all components.
  2. Apply two coats of paint on each side of all components.
  3. Insert bolts, provided with your van tech roof mounts, into your bottom brackets pointing upwards.
  4. Slide mount bottoms on to the first, second, third, and fourth knobs located on the roof of your promaster.
  5. Place mount tops on to the mount bottoms.
  6. Place strut channel onto your brackets (There will be 4″ of over hang on the front or back depending on which end you choose to flush your strut with).
  7. Place washers onto each bolt, then tighten nuts down with socket wrench.

Instructions for Installing Solar Panels onto Rack:

*Note: We use these Renogy Solar Panels

  1. Mark out, on your solar panels, where they are going to land on the strut channels.
  2. Drill each mark on you panels with a 1/8″ drill bit, then drill again with a 1/4″ drill bit, and finally drill once more with a 1/2″ drill bit.
  3. put locking washers then flat washers onto the carriage bolts.
  4. Fasten two of the 2 hole square washers to the back most holes of the rear solar panel using the 3/8″ carriage bolts and nuts. (Each square washer must be fastened to the bottoms of the panel)
  5. Fasten the last of the 2 hole square washers to the forward most holes of the front solar panel with 3/8″ carriage bolts and nuts.
  6. Carry your solar panels to the roof and plug in your positive and negative connections.
  7. Fasten the 4 hole square washers to the front most holes of the rear panel, and the back most holes of the front panel connecting them together.
  8. Line up the spring nuts on the inside of the strut channel with the center of each hole of you square washers.
  9. Place a locking washer then a flat washer onto each of the 3/8″ hex bolts.
  10. Fasten the panels down running the 3/8″ hex bolts through the square wasters into the spring nuts with a socket wrench.
  11. Give yourself a high five; you now have one of the main components of solar power!