Seating/Bed

We cut our mattress and had the cushions professionally upholstered.

6 inch Green Tea Infused Memory Foam Mattress-Queen

Soft Close Telescopic Spring Gas Lift – We use these on our back benches. We keep all of our bedding stored in one of these benches. Our other bench seat that lifts up, we can easily access our electrical system. We love that they are soft close and stay up and open on their own.

Lagun Pedestal – This table pedestal is great because it’s easily removable and it swivels! You can easily push it aside and out of the way. If you wanted something that you don’t have to remove, an option would be a pedestal like this.
Plumbing

Class A Customs 33 Gallon Water Tank – This is our fresh water tank ( 33 gallons lasts us 4-5 days)

Class A Customs 10 Gallon Water Tank – This is our grey water tank that we have mounted underneath the van

Liquid Level Sensor

Motorized Ball Valve

SHURFLO 12v Automatic Demand RV Pump

SHURFLO Pipe Strainer

SHURFLO Pump Silencing Kit

Seaflo Pre-Pressurized Accumulator Tank

Bosch Electric Mini Tank 2.5 Gallon Water Heater

Water Level Gauge

RV City Water Fill w/Flange

Camco 25 ft Drinking Water Hose

Wavin HepvO Sanitary Waste Valve

RV Water Filter

Kitchen

Dometic Atwood Stove Range 17″

Elkay Quartz 16″ Dual Mount Sink

Elkay Stopper/Flange

Kraus Faucet

Ikea Rail

Ikea Condiment Stand

Ikea Cabinet Leather Handles

Drawer Locks

Ikea Knife Rack

Wooden Plates & Bowls (Set of 2)

Bamboo Dish Brush

HydroFlask 10 oz Rocks Cup

Door Mount Trash Can

Gneiss Spice Magnetic Spice Jars

Vent Cover

Isotherm Cruise 85

Bathroom

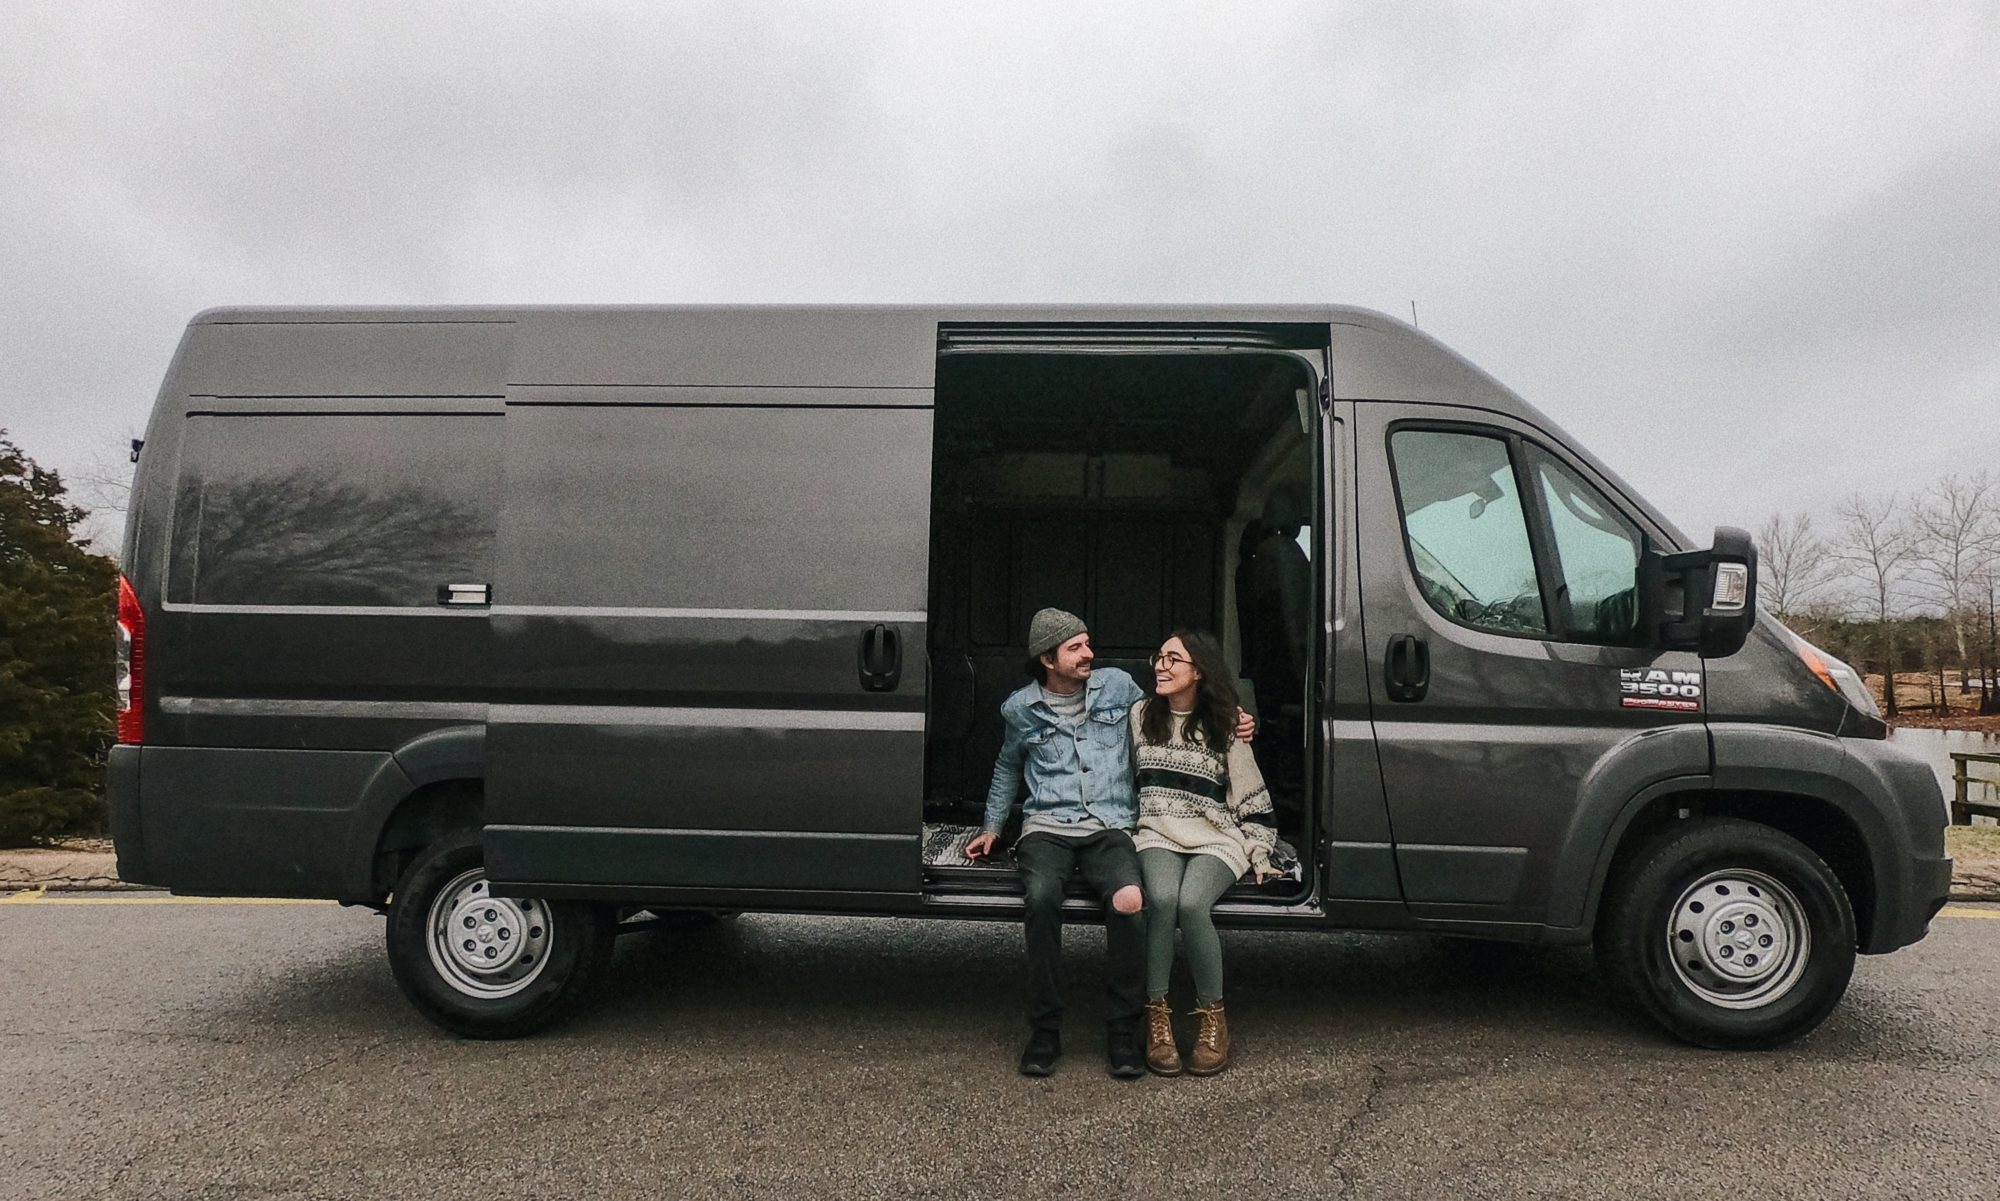
We live in our van full time so having a bathroom was pretty important to us. We have a full wet bath with a shower and composting toilet and it is definitely one of our favorite parts of our van build!

Nature’s Head Composting Toilet – One of our favorite things in the van! No nasty smells, saves water and no black water tank dumping!

Handheld Showerhead

Shower Faucet

Towel Hooks

Shower Storage Caddy

Nautilus Shower Door – We love this door because it is retractable and SELF CLEANING!

Electrical

Continuing off of our solar setup here is everything we used in our electrical system.

AIMS Power 2000 Watt 12 VDC Pure Sine Inverter Charger w/ 6000W Surge

*The Aims Power is great it just has trouble running our Bosch hot water heater. So if you are installing that water heater we recommend getting a larger inverter like the Victron 3000 watt inverter.

2 – VMAX XTR8D-350 8D 12V 350Ah Deep Cycle AGM SLA 12 Volt 350Ah Battery

These batteries have been great no complaints on their performance. They are just super heavy and bulky, take up a ton of room in our garage and I am not even sure they make the 350 amp anymore. At the time of our build lithium was out of our price range but we’ve installed these in clients builds and were very impressed so in a future build we would definitely go with Battleborn lithium batteries.

Blue Sea 5026 ST Blade Fuse Block w/Cover – 12 Circuit w/Negative Bus

2 – Dream Lighting LED Recessed Ceiling Light for 12volt DC Automotive Interior

Wall Mounted Glass Touch Panel LED Dimmer Switch

ANJOSHI 100A Auto Car Protection

Victron BMV-712 Battery Monitor

Blue Sea Systems 300 Amp m-Series Battery Switches

AC Infinity AIRPLATE S1, Quiet Cooling Fan System 4″ with Speed Control, for Cabinets

TopstrongGear Solid Brass 0/2/4 Gauge 100Amp ANL Fuse Holder with 100Amp Fuses(2 Pack) (100 Amp)

TopstrongGear Solid Brass 0/2/4 Gauge 250Amp ANL Fuse Holder with 250Amp Fuses(2 Pack) (250 Amp)

Blue Sea Systems Common BusBars (100A-250A)

12V 140 Amp Dual Battery Smart Isolator by KeyLine – VSR – Voltage Sensitive Relay

Midnite Solar Circuit Breaker, 100A 150VDC, 1-Pole, Din Mount, Model MNEPV100

MidNite Solar Photovoltaic DC Circuit Breaker – 20 Amp, Model# MNEPV20

USB Charging Ports

Insulation

Havelock Wool – Improves indoor air quality, manages moisture, absorbs sound.

Polyisocynurate Foam Board – PolyIso has the highest R-value per inch of any rigid board insulation. We installed this on the ceiling and window panels along the sides of the van.

Spray Foam – The rocker panels in the Promaster are known for water getting in. We really wanted to use wool throughout our whole build but after it rained we ended up taking out the wool from the rocker panels to check, and it was indeed wet. So we used spray foam instead to fill all the rocker panels and to act as a sealant.

Kilmat Sound Deadening – We put kilmat on the ceiling to help reduce rain noise. You will need a roller for this product, you can get the one we used here.

Bubble Reflectix – We used reflectix as an extra layer and vapor barrior on top of all the insulation. We also put this under our subfloor instead of foam to save the most headroom space. If we used foam board on the floor and ceiling, Ethan wouldn’t be able to stand up straight (he’s 5’8).

Reflectix Tape

Silicone – We wanted to keep water out as much as possible. We used silicone throughout the van whenever we saw a hole. If you have a Promaster be sure to check around the wheel wells and seal anywhere you can see daylight.

Spray Adhesive – We used this to stick the foam, wool and reflectix on the walls, ceiling and floor.

Rustoleum – When we were pulling off the wall panels that came in the van, it left behind some scratches. We painted any bare metal showing throughout the van so no rust occurs.

Windows

CRL 2014+ OEM Design ‘All-Glass’ Look Ram ProMaster Passenger Side Sliding Door T-Vent Window

CRL 2014+ OEM Design ‘All-Glass’ Look Ram ProMaster Van Fixed Window Right Rear Door

CRL 2014+ OEM Design ‘All-Glass’ Look Ram ProMaster Van Fixed Window Left Rear Door

Driver Side Universal Van Bunk Window 33-7/8″ x 10-7/8″

You’ll need the bottom two products for installing the back fixed windows. This is what CRL recommends.

CRL One Step Primer for CRL/Somaca Series Urethanes

CRL/Somaca Hi-Viscosity Auto Glass Urethane Adhesive

Tools Used:

DEWALT 12-Volt Max 1/4-Inch Impact Driver

Bosch Jig Saw

Filer

Tape

Rustoleum

Fan Installation

A vent fan is a necessity in a van especially for us since we have a shower as well as a stove/oven. This MaxxAir fan is awesome because it has different settings that can suck air out or in and comes with a little remote so you can set your temperature!

What you’ll need:

MaxxAir Fan Deluxe w/ Remote

Butyl Seal Tape

GE Silicone 2+ Window & Door Caulk, 10.1 Oz. Tube, Clear

Scotch Delicate Surface Painter’s Tape

2 Inch GRK Trim Head Screws

Tools Used:

DEWALT 12-Volt Max 1/4-Inch Impact Driver

DEWALT 12-Volt Max 3/8-Inch Drill Driver

Bosch Jig Saw

Swanson Framing Square

Swanson Speed Square

Pro Tip:

Make sure to vacuum EVERYWHERE as you go and right after the cut – this is VERY important as rust can develop from those tiny metal shards! Also tape up a trash bag where you are going to be cutting the hole, this will help reduce metal shards from getting everywhere inside your van.

DIY Promaster Roof Rack

Yup that’s right. We made our own rack for our solar panels for under $300! And we didn’t put ANY holes in the roof!

What you’ll need:

[ 8 ] Vantech® H45-46S – Top and Bottom Adaptor Kit

[ 4 ] 2-Hole Flat Straight Strut Bracket

[ 2 ] 4-Hole Flat Straight Strut Bracket

[ 8 ] VPC 3/8 in. Galvanized Spring Nut

[ 16 ] 1/4 SAE Stainless Steel Flat Washer

[ 16 ] 3/8 in. Stainless Steel Flat Washer

[ 16 ] 3/8 in. Stainless Steel Split Lock Washer

[ 2 ] 10 ft. 14-Gauge Silver Electro-Galvanized Strut Channel

Home Depot

Rustoleum matte black finish for auto 

Instructions for Installing Rack:

  1. Prime one coat on each side of all components.
  2. Apply two coats of paint on each side of all components.
  3. Insert bolts, provided with your van tech roof mounts, into your bottom brackets pointing upwards.
  4. Slide mount bottoms on to the first, second, third, and fourth knobs located on the roof of your promaster.
  5. Place mount tops on to the mount bottoms.
  6. Place strut channel onto your brackets (There will be 4″ of over hang on the front or back depending on which end you choose to flush your strut with).
  7. Place washers onto each bolt, then tighten nuts down with socket wrench.

Instructions for Installing Solar Panels onto Rack:

*Note: We use these Renogy Solar Panels

  1. Mark out, on your solar panels, where they are going to land on the strut channels.
  2. Drill each mark on you panels with a 1/8″ drill bit, then drill again with a 1/4″ drill bit, and finally drill once more with a 1/2″ drill bit.
  3. put locking washers then flat washers onto the carriage bolts.
  4. Fasten two of the 2 hole square washers to the back most holes of the rear solar panel using the 3/8″ carriage bolts and nuts. (Each square washer must be fastened to the bottoms of the panel)
  5. Fasten the last of the 2 hole square washers to the forward most holes of the front solar panel with 3/8″ carriage bolts and nuts.
  6. Carry your solar panels to the roof and plug in your positive and negative connections.
  7. Fasten the 4 hole square washers to the front most holes of the rear panel, and the back most holes of the front panel connecting them together.
  8. Line up the spring nuts on the inside of the strut channel with the center of each hole of you square washers.
  9. Place a locking washer then a flat washer onto each of the 3/8″ hex bolts.
  10. Fasten the panels down running the 3/8″ hex bolts through the square wasters into the spring nuts with a socket wrench.
  11. Give yourself a high five; you now have one of the main components of solar power!